 English
 Nederlands
 Deutsch





To check if a child car seat is installed correctly, grip the seat at the base and try to move it side to side and front to back. A properly installed seat should not shift more than one inch in any direction. The harness must also sit snugly against your child with no slack.
Getting the installation right matters more than most parents realise. Even a seat that looks secure can have subtle errors that reduce its effectiveness in a collision. The questions below cover the key checks, common mistakes, and when to ask a professional for help.
What are the signs of a correctly installed child car seat?
A correctly installed child car seat sits firmly against the vehicle seat with less than one inch of movement at the base, the harness lies flat and snug against the child’s body, and the chest clip sits at armpit level. The seat is positioned at the correct angle, and the seatbelt or ISOFIX connection shows no visible slack or twisting.
Beyond the physical fit, a correctly installed seat also has the harness adjusted to the right height for your child. For rear-facing seats, harness straps should come from at or below the child’s shoulders. For forward-facing seats, they should come from at or above the shoulders. The retainer clip should sit flat across the sternum, not the stomach or throat.
If the seat uses a vehicle seatbelt rather than ISOFIX, the belt should run through the correct routing path as marked by the manufacturer. A misrouted belt can cause the seat to move significantly during a sudden stop, even if it feels firm under normal conditions.
How do you perform the inch test on a car seat?
To perform the inch test, place your hand at the base of the car seat near the belt path or ISOFIX attachment point and push the seat firmly side to side, then front to back. A correctly installed seat should not move more than one inch in either direction. If it moves further, the installation needs to be tightened.
The test is simple but only reliable when done in the right location. Grabbing the seat at the top will almost always produce movement, because the seat naturally pivots slightly on the vehicle cushion. Always test at the base or the lowest point of the seat, close to where it attaches to the car.
If you find the seat shifts more than an inch, try these adjustments before testing again:
- Press your knee firmly into the seat while tightening the seatbelt or ISOFIX connectors to compress the vehicle seat foam
- Check that the seatbelt is locked, not just fastened, especially if your vehicle uses a switchable locking retractor
- Confirm the belt runs through the correct routing channel for your specific seat model
- For ISOFIX seats, make sure both connectors have clicked fully into the anchor points
Once the seat passes the inch test at the base, also check the recline angle. Most rear-facing seats include a built-in level indicator to help you achieve the correct angle, which prevents a newborn’s head from falling forward.
What are the most common child car seat installation mistakes?
The most common child car seat installation mistakes include using both the seatbelt and ISOFIX at the same time, routing the seatbelt through the wrong path, leaving harness straps too loose, placing the chest clip too low, and installing a rear-facing seat at the wrong recline angle. Each of these errors can significantly reduce the seat’s protection in a collision.
Using both the vehicle seatbelt and ISOFIX connectors simultaneously is a widespread mistake. Most seats are designed to use one system or the other, not both. Combining them can create conflicting forces during impact. Always read the seat’s manual to confirm which method applies to your vehicle and seat combination.
Harness tightness is another area where many parents make errors. The pinch test is a reliable guide: once the harness is fastened, try to pinch the strap fabric at the child’s shoulder. If you can pinch any material between your fingers, the harness is too loose. You should not be able to gather any slack.
Finally, many parents move a child to a forward-facing seat too early. Rear-facing seats absorb crash forces across the child’s entire back, head, and neck. Most child safety guidance recommends keeping children rear-facing for as long as the seat’s height and weight limits allow.
Does the type of car seat affect how you check the installation?
Yes, the type of car seat does affect how you check the installation. Rear-facing infant seats, convertible seats, and forward-facing seats each have different harness routing, recline requirements, and attachment methods. The checks you perform are similar in principle but differ in the specific details to look for.
Rear-facing seats
For rear-facing seats, the recline angle is the most important factor beyond the inch test. An infant’s airway is vulnerable if the seat sits too upright. Most seats include a level indicator on the side, and you should follow the manufacturer’s guidance on the correct angle for your child’s age and weight. Harness straps must come from at or below the shoulder slots.
Forward-facing seats
Forward-facing seats often require a top tether strap in addition to the seatbelt or ISOFIX connection. The top tether anchors the top of the seat to a dedicated anchor point in the vehicle, reducing forward movement of the seat and the child’s head during a collision. Many parents install the seat securely at the base but overlook the top tether entirely. Check your vehicle manual to locate the correct anchor point.
Booster seats
High-back and backless booster seats work differently from harnessed seats because they position the vehicle’s own seatbelt correctly across the child’s body. The check here focuses on whether the shoulder belt sits across the chest and collarbone rather than the neck, and whether the lap belt lies flat across the upper thighs rather than the stomach.
When should a professional check a child car seat installation?
You should have a professional check your child car seat installation when you first install a new seat, after any vehicle change, if the seat has been involved in a collision, or if you are unsure whether your installation passes the basic checks. Many fire stations, children’s hospitals, and road safety organisations offer free inspection services.
A trained car seat technician can identify problems that are difficult to spot without experience, such as subtle misrouting of the seatbelt, incorrect use of locking clips, or a harness that appears snug but sits at the wrong height. These are not obvious errors, and they are common even among careful, attentive parents.
It is also worth requesting a check when your child moves to a new seat stage. Transitioning from an infant carrier to a convertible seat, or from a harnessed seat to a booster, involves a different set of installation and fit requirements. Getting a professional set of eyes at each transition point removes any uncertainty.
If a professional inspection is not immediately accessible, many national road safety authorities and car seat manufacturers publish step-by-step video guides specific to individual seat models. These are a reliable second option, though they do not replace a hands-on check by a trained technician.
How Lifehammer® supports you with child car seat safety
At Lifehammer® we have been developing vehicle safety tools since 1983, and child car seat safety is exactly the kind of situation our products are designed to complement. Getting the installation right is the most important step, and we focus on ensuring that once you are on the road, you have the tools to handle an unexpected situation.
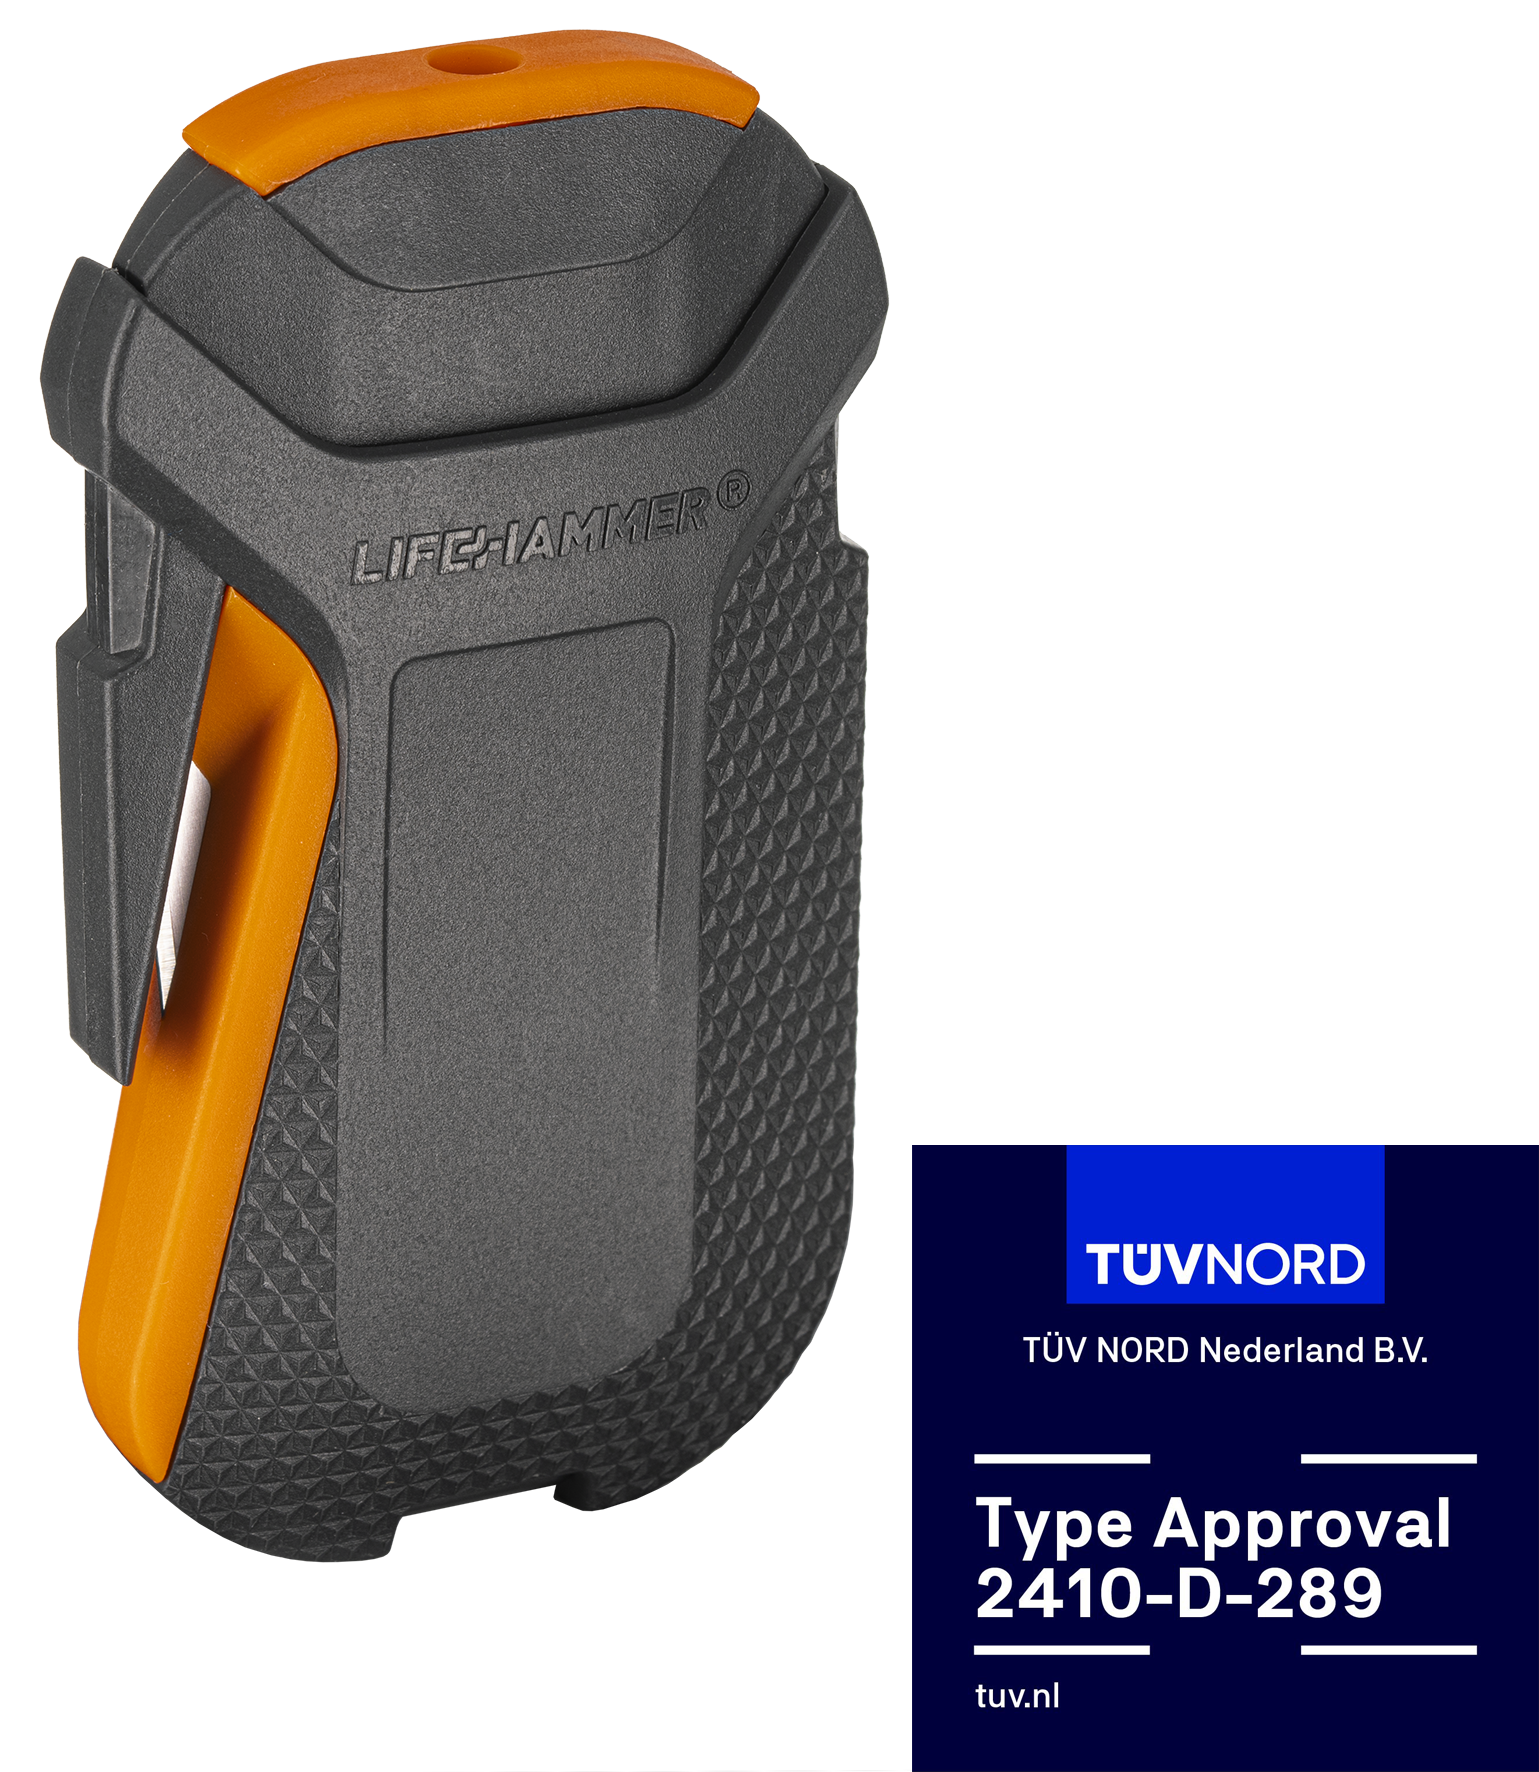
- Our Safety Hammer SMART uses an automatic ceramic pin to break tempered side windows and includes an integrated seatbelt cutter, making it relevant whenever a seatbelt needs to be released quickly, including a child’s harness in a vehicle emergency.
- All Lifehammer® safety hammers are TÜV certified and trusted by first responders and fleet operators across Europe, so you can rely on them when it matters.
- The Safety Hammer Evolution uses a ceramic hammerhead and mounts securely using the included hex key, keeping it within reach without interfering with daily use.
- Our products are designed for ease of use by adults in stressful conditions, with ergonomic handling that does not require strength or practice to operate.
If you have questions about which product suits your vehicle or how to position it safely within reach, our Q&A section covers the most common topics in straightforward detail.